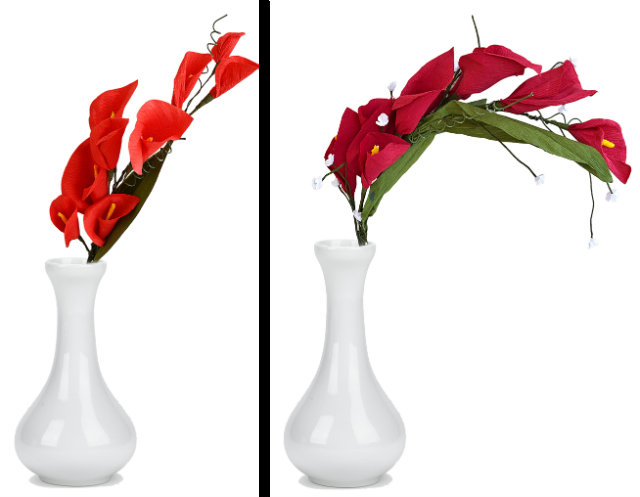
Cala lilies are very beautiful and elegant. An arrangement of these lovely flowers can lend an immediate sophistication to any decor!
They are quite tough on the pocket as well. These paper lilies are not hard on your pocket and have an added charm of being handmade. So here is a step-by-step tutorial on how to make a beautiful bouquet of lilies which is no maintenance and will brighten up any room.
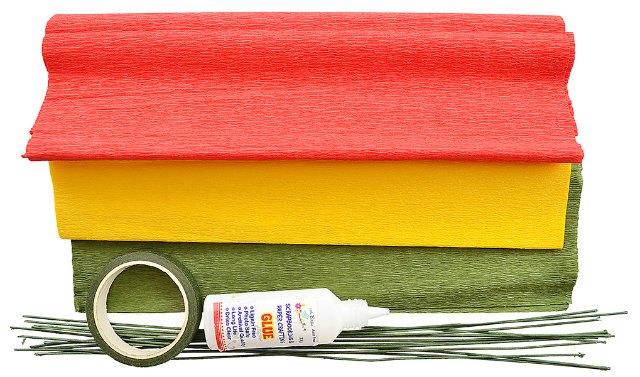
Supplies Needed:
- Duplex paper in your choice of colour (we are using Red)
- Yellow Duplex paper for the Stamen
- Green Duplex paper for leaves
- Floral wire
- Green Floral Tape
- Craft Glue
Method:
Step 1:
Cut the duplex paper in the shape shown (dimension – about 2 ¼ “-3” long ). These shapes will form the Lily Petals. Each piece will make one flower, so cut as a many pieces as you would like for your bouquet.

Step 2:
Cut a strip of yellow duplex paper about 1”wide and 10” long. Wrap it around one end of the floral wire as shown and stick the end with glue.

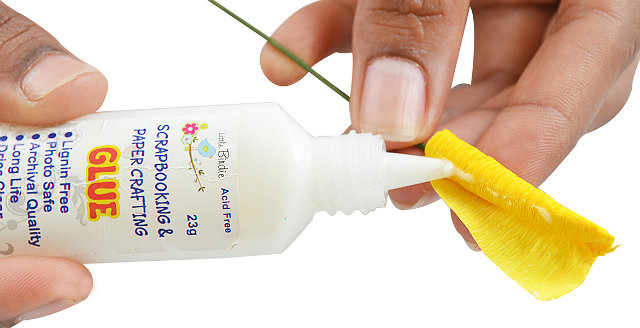
Step 3:
Apply glue to the base of the petal and place the wrapped wire as shown.

Step 4:
Wrap the petal at the base as shown to form the flower.

Step 5:
Shape the petals as shown to make the Cala Lily form.

Step 6:
Start wrapping the floral tape tightly, beginning at the base of the petal. Wrap the entire wire to make the stem.

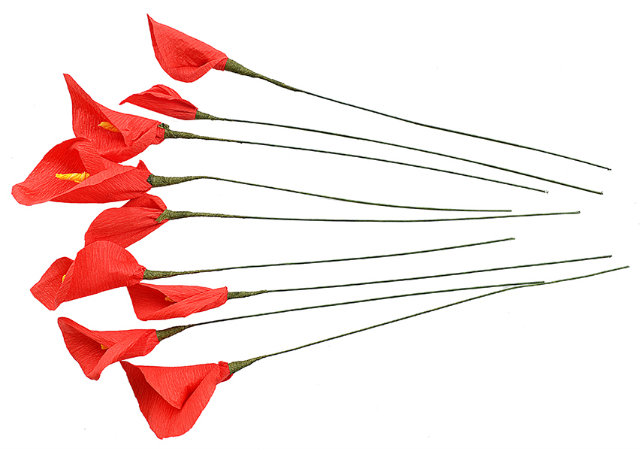
Step 7:
The flower will look like the one in the image here.

Step 8:
Make as many flowers as you want for your bouquet.
Step 9:
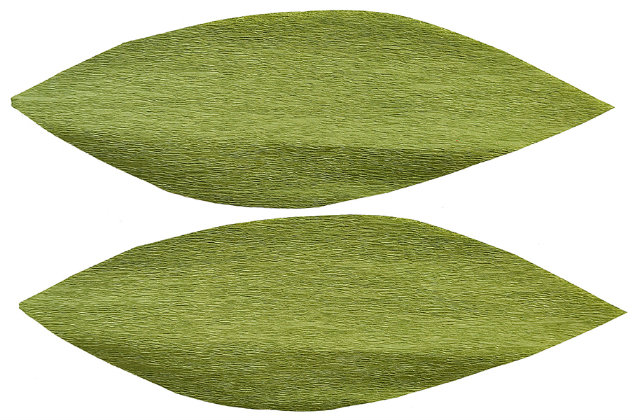
To make the leaves, cut out 2 pieces of green paper as shown in the Image.
Step 10:
Apply glue as shown and place a floral wire in the centre.

Step 11:
Place the other leaf on top and let it dry.

Step 12:
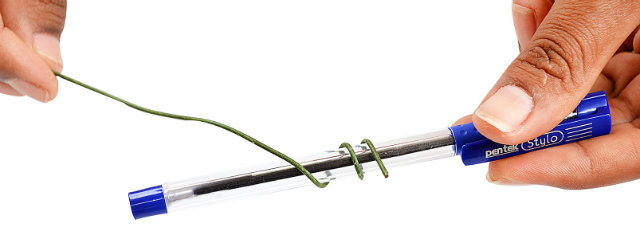
Wrap some floral wire around a dowel or a pen to make tendrils.
Step 13:
Start assembling the bouquet by adding flowers, tendril and leaves and twisting the stems together.

Step 14:
Add as many flowers and leaves as you want in your bouquet.

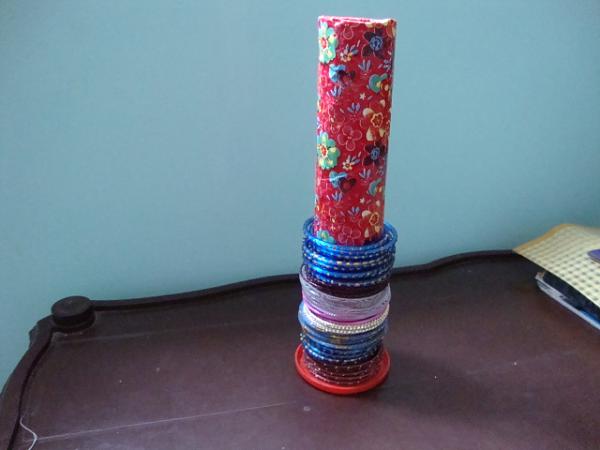
Once finished, arrange them in a vase. You can add tiny punched flowers to add a touch of the baby-breath as shown in the maroon bouquet here.

Courtesy: itsybitsy.in


