
In this tutorial we will learn how to make bead charms and work them into a design. This is the basic step of jewelry making with beads. You can use your choice of beads and charms to make a unique customized key chain.
This will also make a pretty and personal gift. Once you learn the technique you can also make fancy necklaces, earrings, bracelets, bag tags and a whole lot more!
Note: The beads selection will differ from store to store and in Itsy Bitsy’s web store.
Supplies:
- Glass Beads (Mixed – qty as required)
- Spacer Beads – one per bead
- Key Ring – 1pc
- Jump Rings – one per bead + 2pcs
- Eye pins – one per bead
- A length of cable or curb chain (double the length you want your key chain charm to be)
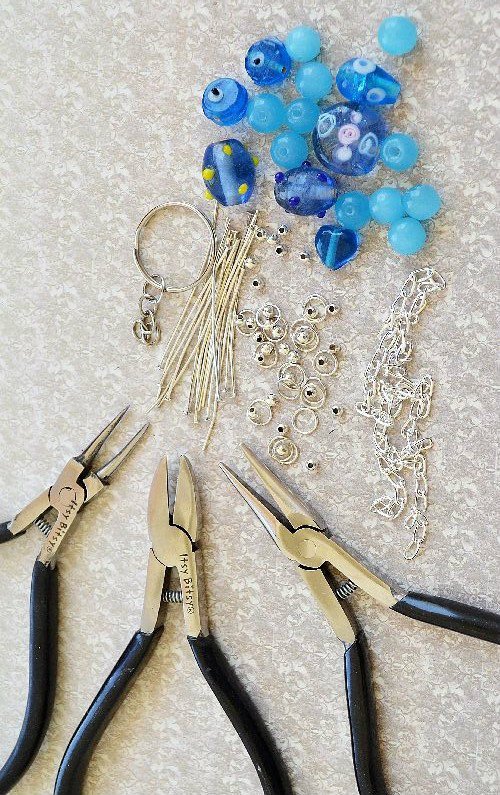
Tools:
- Round Nose Pliers
- Chain Nose Pliers
- Cutting Pliers / Wire cutters
Method:
Step 1:
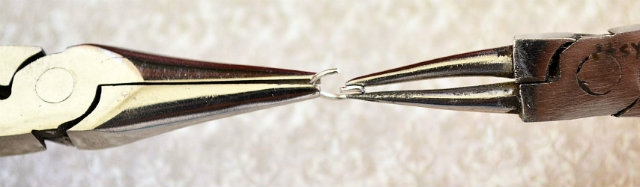
First thing we are going to do is to attach the length of the chain to key chain using a jump ring. Open a jump ring using the chain nose pliers and round nose pliers. Hold one side of the jump ring as shown and twist the other end sideways as shown in the image.
Note: Jump rings should always be opened and closed sideways. Opening them apart compromises the strength as well as the shape of ring.
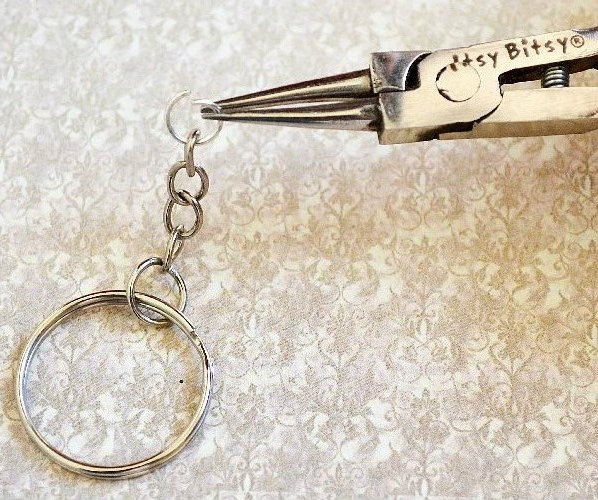
Step 2:
Insert the last link of the key chain and the first link of the chain in the open jump ring. Twist back the ends with the pliers and close the ring.

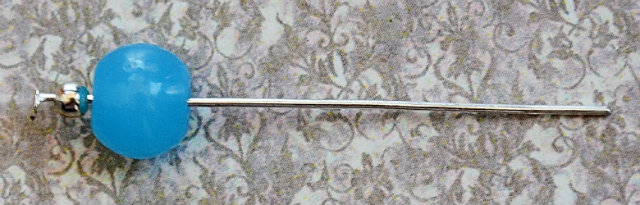
Step 3:
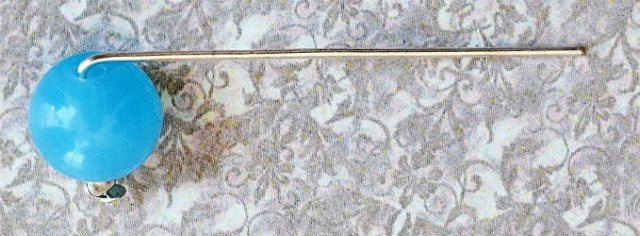
Now we will make the bead charms. Thread a spacer bead onto the head pin and then thread a glass bead. The table blown glass beads that we are using sometimes have a larger hole than the head of the head pin.
The use of spacer bead here is ornamental as well as functional. It ensures that the glass bead does not slide off over the head of the pin.
Step 4:
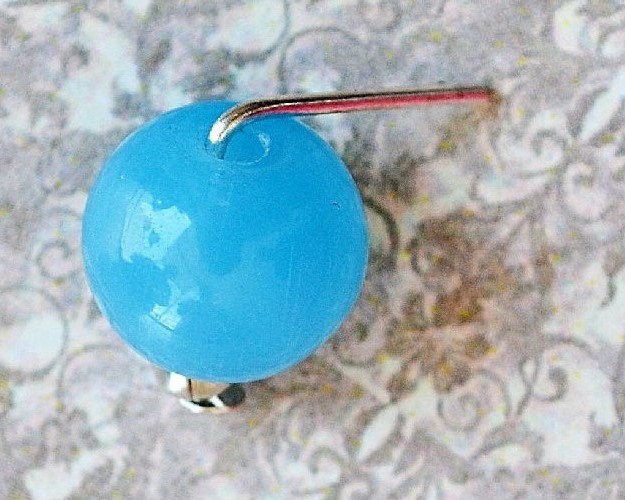
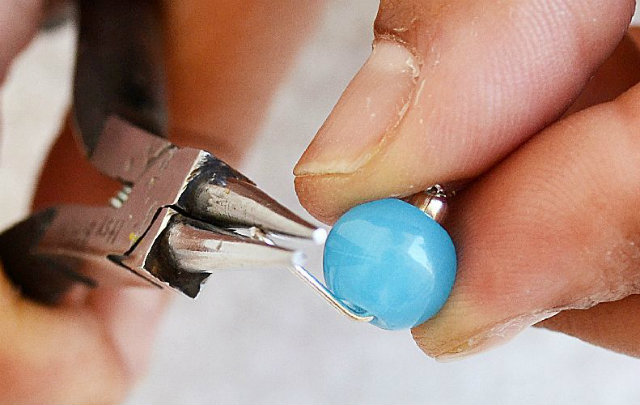
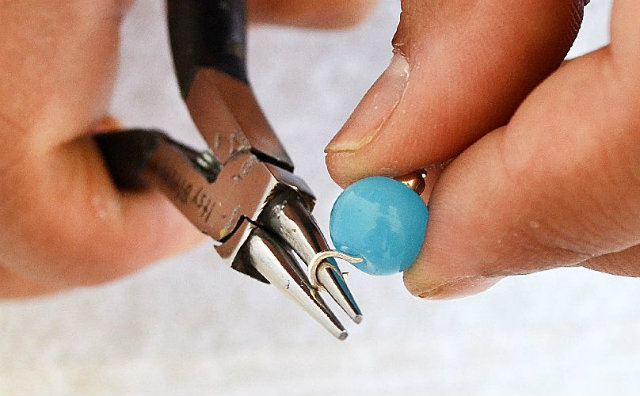
Using chain nose pliers turn the head pin 90 degrees as shown in the image. Cut off excess wire leaving about 1 cm of wire extending from the bead.
Step 5:
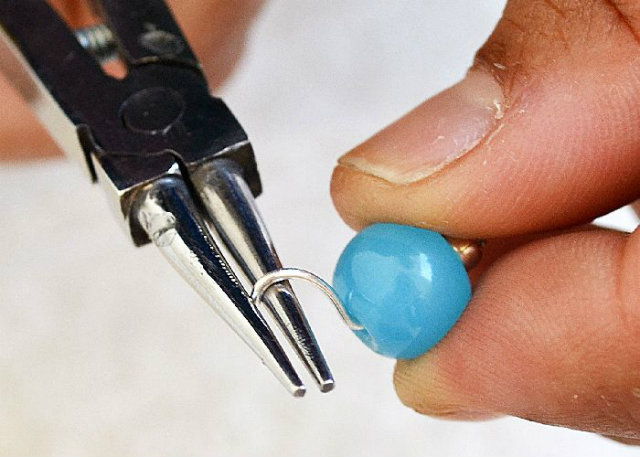
Tightly grip the end of the wire with the round nose pliers and rotate your wrist to turn the wire into a loop as shown in the images above.
Step 6:
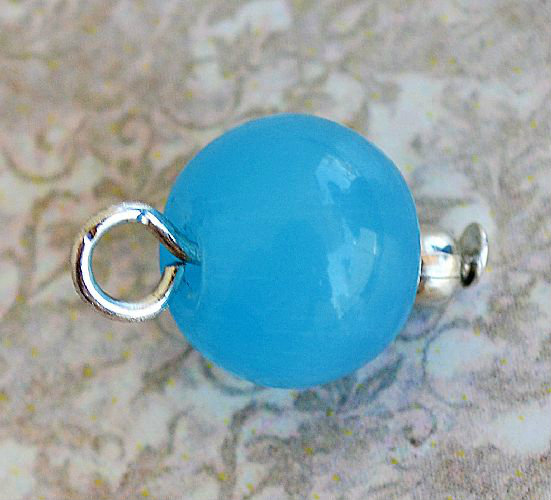
Turn the wire completely to close the loop. This might take some practice in the beginning, but after a few tries you will be able to get neat looking loops.
Step 7:
Make as many bead charms you want to add in your design. Now we will start attaching these beads charms to the chain using jump rings.

Step 8:
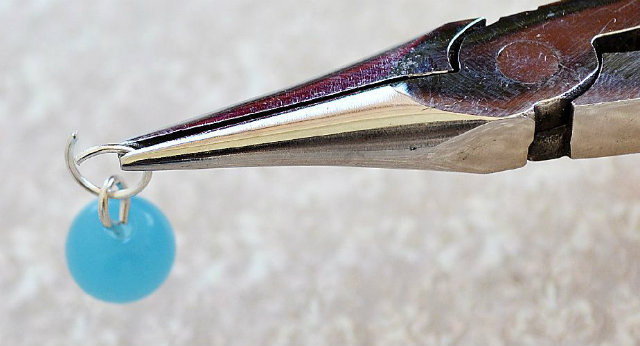
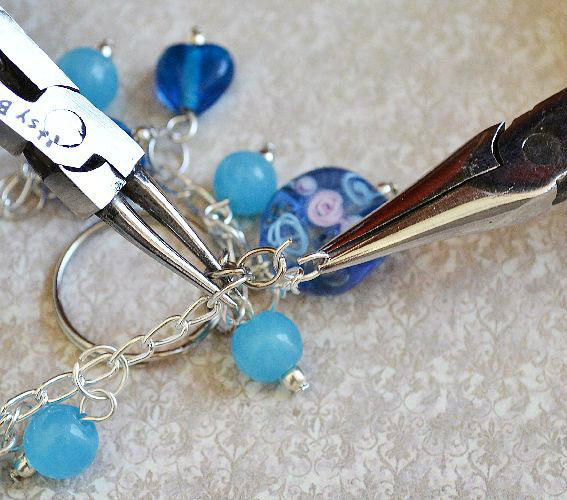
Open a jump ring (sideways) and thread the loop of one of the bead charms you have just made. Also add the jump ring you had used to join the chain to the key chain. Close the jump ring.
Step 9:
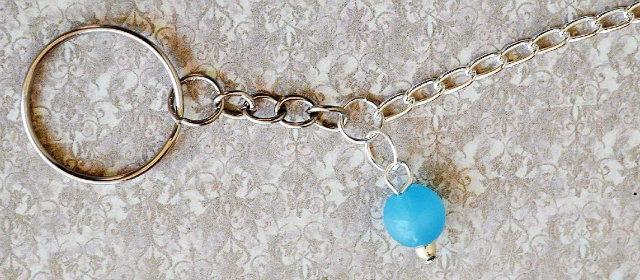
You will now have your first charm dangling on the chain.
Step 10:
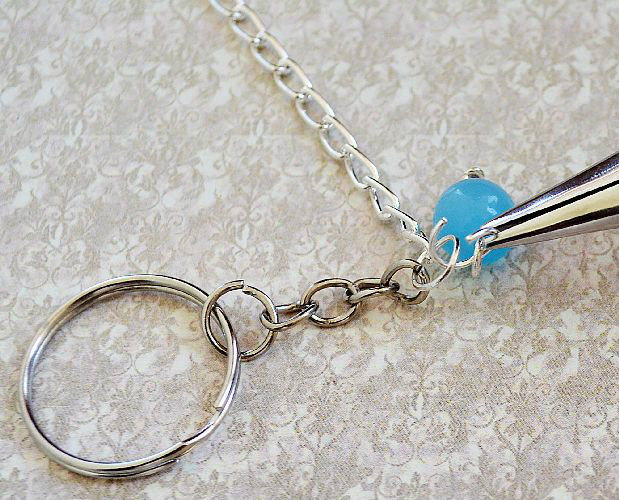
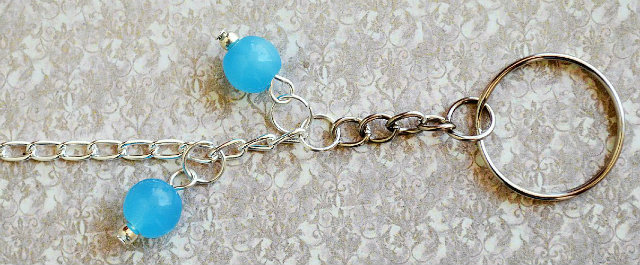
Open another jump ring, thread another bead charm and one of the links of the chain, and close the jump ring.
Step 11:
Keep adding bead charms to the chain, leaving a couple of links in between.
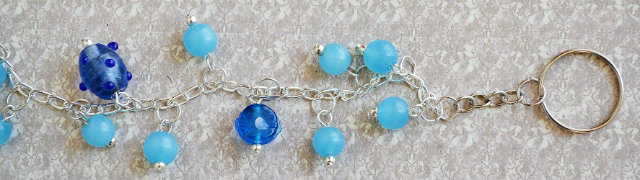
Step 12:
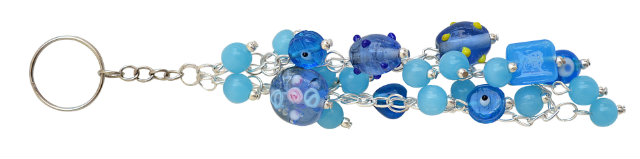
Once you are done, your chain will look like the image below:

Step 13:
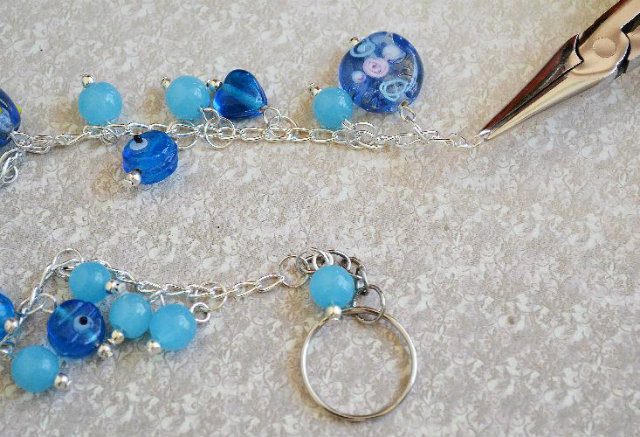
Once you are happy with your chain, open another jump ring, thread the last link of the chain and thread it through the first jump ring you had used to join the cable chain and the key chain, and close the jump ring. And you are done!
Step 14:
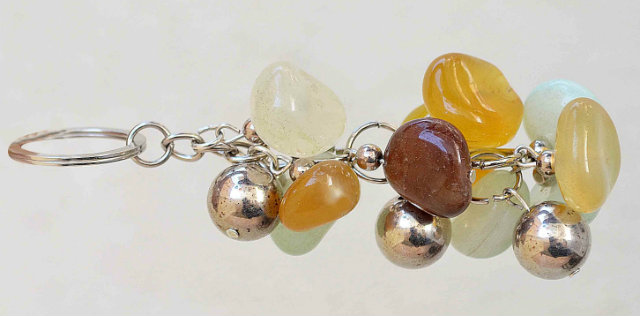
Depending on the size / color of the beads and the length of the chain you can make many different variations. You can personalize this by adding some meaningful charms /alphabet beads or tags, depending on what you want. These will make a great handmade gift as well.
Here are a few examples:

Happy Crafting.
Please post your queries and/or finished products in the discussion thread for the Beaded Key Chain tutorial.
Courtesy: itsybitsy.in


